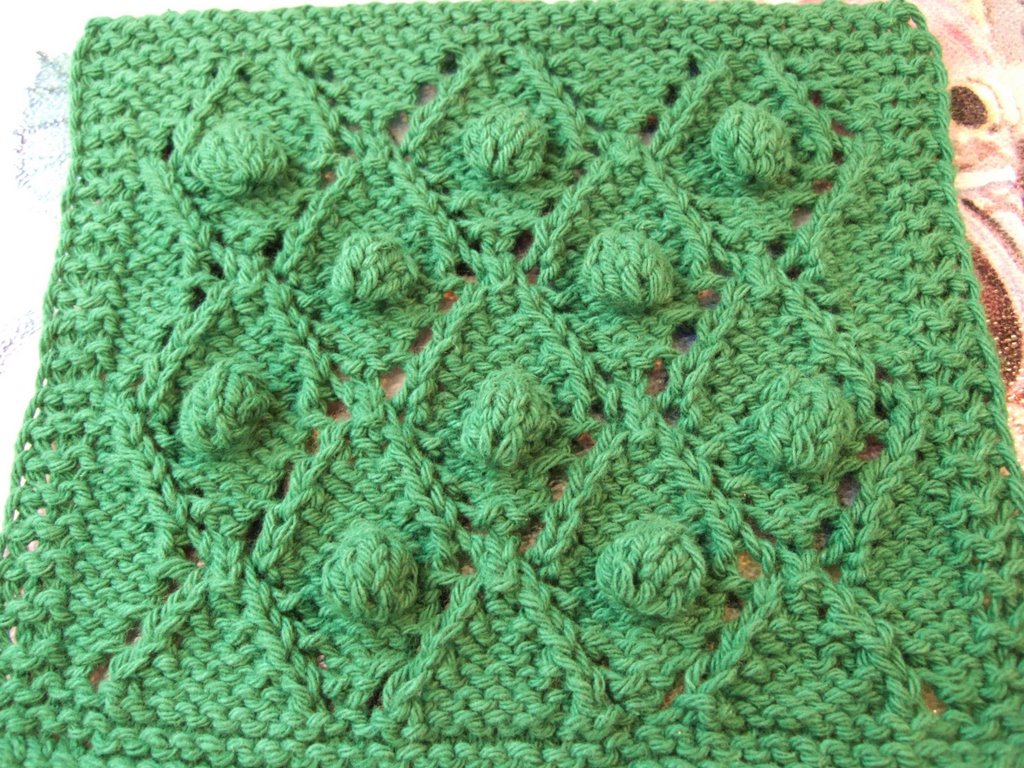
D4 Quadruple Decrease
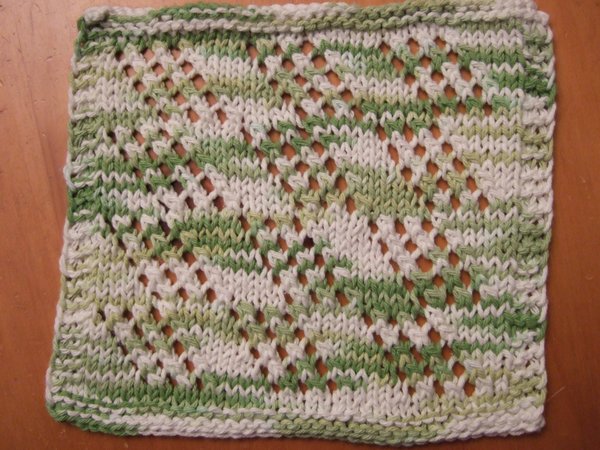
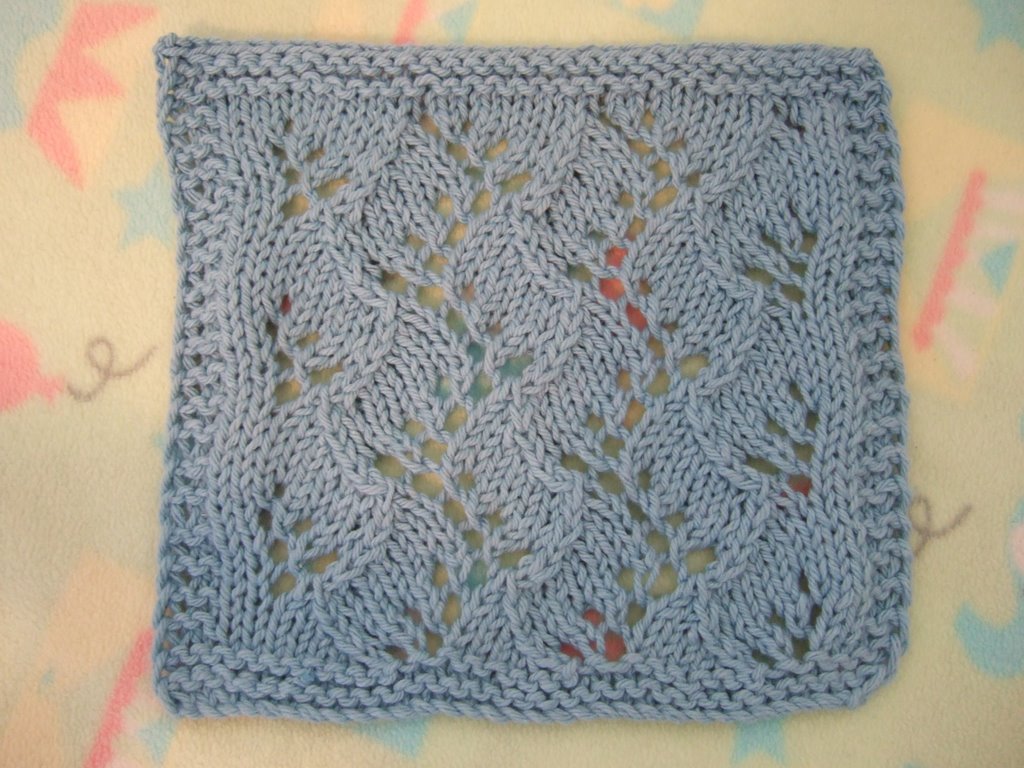
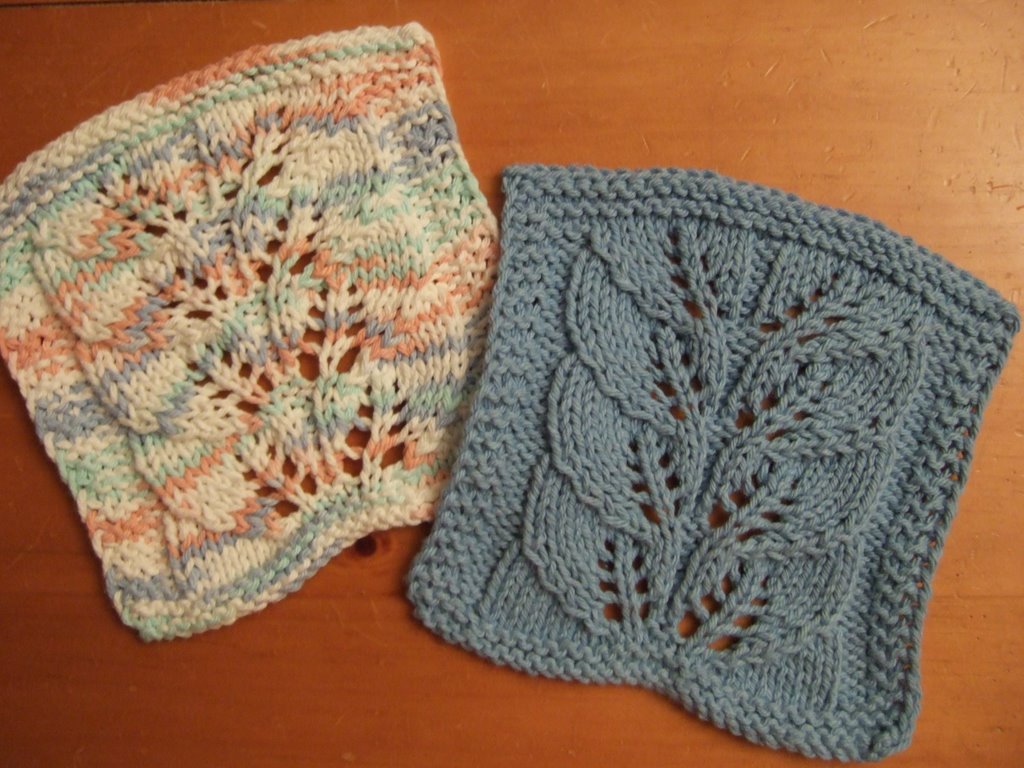
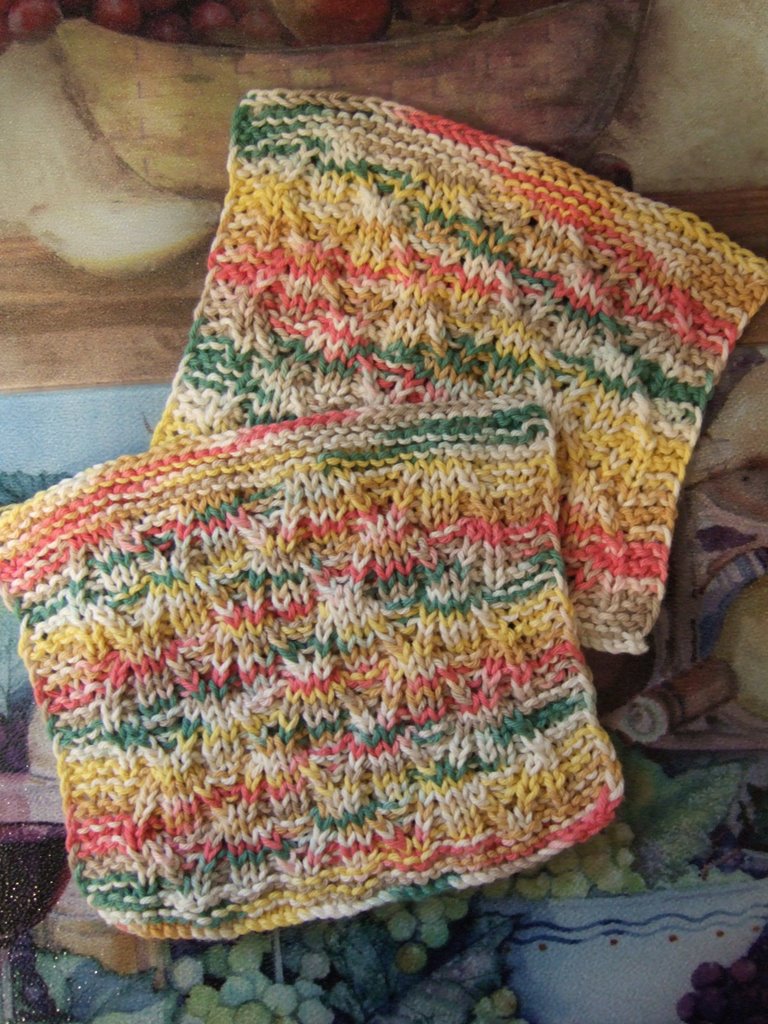
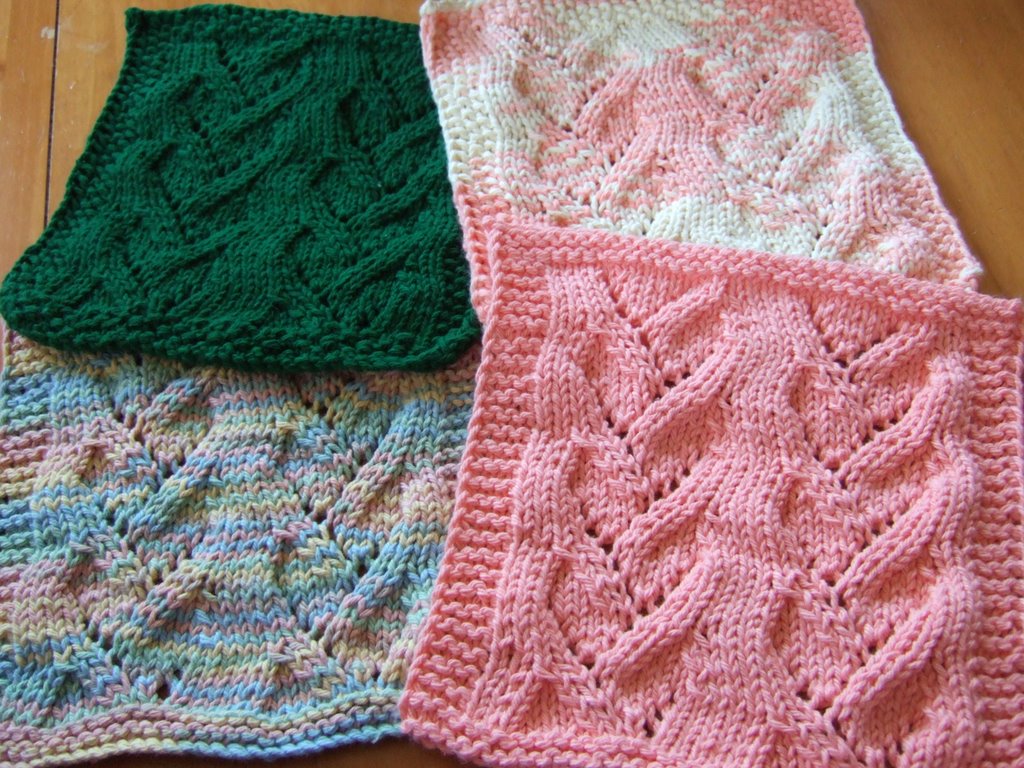
First I want to mention that I appreciate all the comments and email messages informing me that you had no difficulties with the instructions for my Heart Lace Cloth, including Row 38 which has given some people trouble. I was really concerned about whether I typed up the pattern correctly, but it looked OK everytime I compared it to my notes. I was beginning to think I wasn't cut out for pattern writing. It was reassuring to receive your positive feedback. I have also seen a lot of completed Heart Lace Cloths. I'm delighted and honored when someone chooses to knit one of my patterns, and I was truly surprised that so many people were interested in this particular pattern.
--<>--
I know that some people have had difficulties with the D4 Quadruple Decrease used in my 4 Embossed Hearts Cloth and Heart Lace Cloth. I thought I'd try to do a visual explanation of how D4 is done. Although the method & photos below are quite inelegant, I thought someone might find this helpful...
D4 (Quadruple decrease: taking 5 stitches & reducing it down to 1 stitch) is done as follows:
1. Slip 3 stitches to the right needle.
2. Pass the 2nd stitch on the right needle over the 1st (center) stitch.
3. Slip the center stitch back to the left needle.
4. Pass the 2nd stitch on the left needle over the 1st (center) stitch.
5. Slip the center stitch back to the right needle.
6. Pass the 2nd stitch on the right needle over the 1st (center) stitch.
7. Slip the center stitch back to the left needle.
8. Pass the 2nd stitch on the left needle over the 1st (center) stitch.
9. KNIT or PURL the center stitch as specified in the pattern.
--<>--
To begin, we have 5 stitches on the left needle. I decided not to use actual knitting where all the stitches would be the same color. I thought it would be easier to identify each stitch if I made them different colors, so please imagine them to be the next 5 stitches to be worked on.
These are the 5 stitches we will work on. From left to right: Blue, Pink, Red, Green, Burgundy. The Red stitch is also known as the "Center" stitch, because it's in the center in the grouping of 5 stitches. :-)
You can click on the photos to see a larger version. I don't have straight needles, so I used my circular needles. The cord was driving me nuts, so I ended up using 2 different circs. The yellow needle is on the left, the blue needle is on the right.
BTW, I have written the following in the "Tips" section of my patterns. If what confuses you is which stitch is #1, #2, #3, #4, and #5, what I meant is this: Blue = #1; Pink = #2; Red = #3; Green = #4; Burgundy = #5.
D4 sounds confusing in words. You're taking the next 5 stitches on your left needle and reducing it down to 1 stitch. Let's number them from left to right as 1, 2, 3, 4, 5. So this means that #5 is on the far right nearest the tip of your left needle, and #1 is on the far left furthest from the tip of your left needle. What you are going to do is slip #3, #4, & #5 to your right needle. Then pass #4 over #3. Slip #3 back to your left needle. Pass #2 over #3. Slip #3 back to your right needle. Pass #5 over #3. Slip #3 back to your left needle. Pass #1 over #3. You're left with stitch #3 which you just KNIT (or PURL depending on the pattern).

1. Slip 3 stitches to the right needle.
We slip the Red (#3, aka "Center" stitch), Green (#4), & Burgundy (#5) stitches from the left needle to the right needle. The photo below shows what results from this step.

2. Pass the 2nd stitch on the right needle over the 1st (center) stitch.
In the photo above, you can see that the Green (#4) stitch is referred to as the 2nd stitch on the right needle, and the Red (#3/Center) stitch is referred to as the 1st stitch on the right needle.
So you pass the Green (#4) stitch over the Red (#3) stitch and the result is what you see in the photo below.

3. Slip the center stitch back to the left needle.
Just move the Red (#3/Center) stitch from your right needle to your left needle.

4. Pass the 2nd stitch on the left needle over the 1st (center) stitch.
In the photo above, you can see that the Pink (#2) stitch is referred to as the 2nd stitch on the left needle, and the Red (#3/Center) stitch is referred to as the 1st stitch on the left needle.
So you just pass the Pink (#2) stitch over the Red (#3) stitch. The result is what you see in the photo below.

5. Slip the center stitch back to the right needle.
Just move the Red (#3/Center) stitch from your left needle to your right needle.

6. Pass the 2nd stitch on the right needle over the 1st (center) stitch.
In the photo above, you can see that the Burgundy (#5) stitch is referred to as the 2nd stitch on the right needle, and the Red (#3/center) stitch is referred to as the 1st stitch on the right needle.
So you just pass the Burgundy (#5) stitch over the Red (#3) stitch, resulting in what you see in the photo below.

7. Slip the center stitch back to the left needle.
Just move the Red (#3/Center) stitch from your right needle to your left needle.

8. Pass the 2nd stitch on the left needle over the 1st (center) stitch.
In the photo above, you can see that the Blue (#1) stitch is referred to as the 2nd stitch on the left needle, and the Red (#3/Center) stitch is referred to as the 1st stitch on the left needle.
Just pass the Blue (#1) stitch over the Red (#3) stitch. The photo below shows what results from this step.

9. KNIT or PURL the center stitch as specified in the pattern.
Now you have one lonely Red (#3/Center) stitch left on your left needle. Just Knit or Purl it as the pattern instruction specifies.
Voilà! The D4 Quadruple Decrease is completed...
I hope these photos help illustrate how the D4 is executed.
I bet much of the problem here is due to my not knowing what the "standard" abbreviation is for these steps. If you know what they are, please let me know! :-)
.


of Cable Scarves")


4 stitch(es):
Hi Marie - I love coming here to see what pattern you are going to try next! Good going!
Here are some lists of standard abbrev. I found on the net:
http://knitting.about.com/od/learntoknit/l/bl_abbreviations.htm
http://www.yarnstandards.com/knit.html
http://www.anniesattic.com/knitting/content.html?content_id=259
I hope these will help!
Les
Great explaination!!!! Thanx!!!
Bravo for being such a good teacher!
Holy Cow, what great directions! You know, you really need to change that "Knitting Neophyte" description in your sidebar!
Post a Comment